Delightful Vanilla Bean Cake Pops
Highlighted under: Baking & Desserts
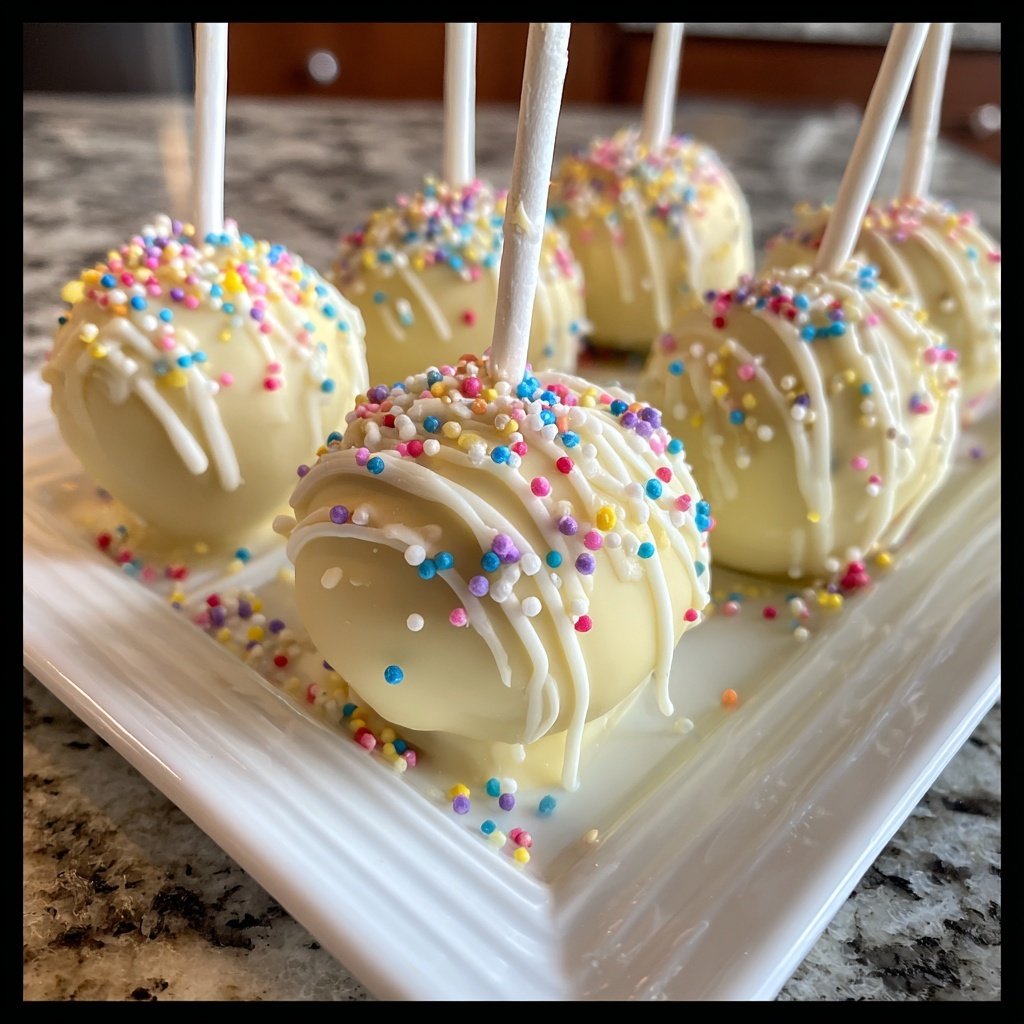
I’ve always been a fan of fun and delightful treats, so these vanilla bean cake pops are a perfect addition to my dessert repertoire. Each bite is a burst of rich vanilla flavor, and the texture is wonderfully moist. I love how they are perfect for any special occasion or just a sweet pick-me-up after a long day. The best part? They’re surprisingly easy to make, and I can personalize them with various toppings. Join me in making these delightful delights that are sure to leave you wanting more!
Creating these delightful vanilla bean cake pops was a joyous experience. I remembered the first time I made them, and I was thrilled to see how easily the cake crumbled and combined with the frosting. The key tip is to use high-quality vanilla beans, as they elevate the flavor profile tremendously. It’s not just about the sweetness; it’s the aromatic essence that truly makes these pops stand out.
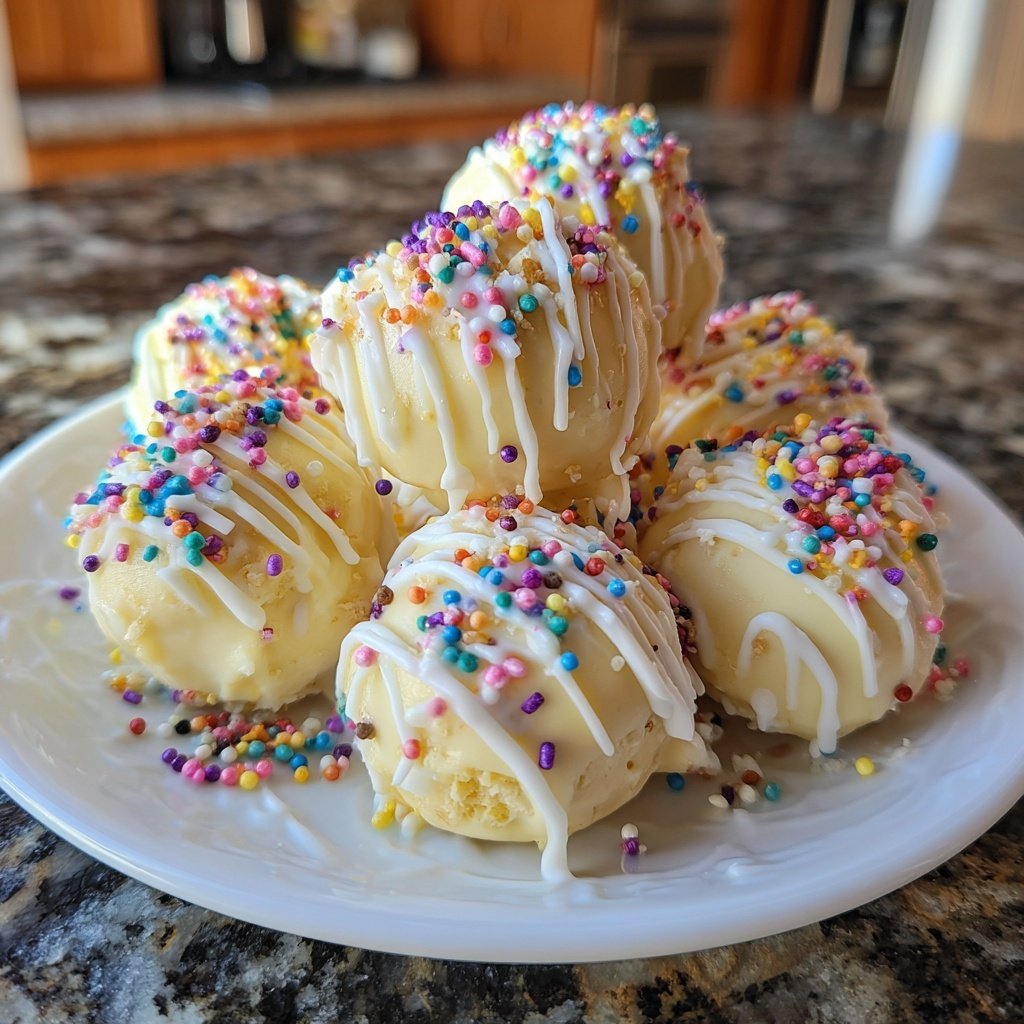
During testing, I experimented with various coatings and decorative sprinkles. A light drizzle of white chocolate with colorful sprinkles added a fun touch that made them visually appealing as well. Believe me, the moment of sharing these treats with friends and family was priceless!
Why You'll Love This Recipe
- Rich vanilla flavor that radiates warmth and comfort
- Fun and interactive way to enjoy cake
- Easily customizable to fit any theme or occasion
Mastering Cake Consistency
The key to achieving a moist and flavorful cake lies in the ratio of wet to dry ingredients. Using a combination of butter and milk ensures the cake pops remain tender. The unsalted butter adds a rich creaminess that complements the vanilla bean paste perfectly. Be careful not to overmix the batter once you add the flour; this can lead to a denser cake that doesn't crumble nicely for pops. I recommend mixing just until the dry ingredients are incorporated and no dry flour remains visible.
When baking the cake, keep a close eye on it towards the end of the baking time. Every oven is different, and factors like pan size can affect the baking duration. Check for doneness at about 22 minutes by inserting a toothpick into the center; it should come out clean. If the edges start to pull away from the pan, that’s another sign it's ready. Allow the cake to cool completely to make shaping it into pops easier.
Perfecting the Pop Process
Crumbling the cooled cake is a fun and satisfying part of the process. Make sure to break the cake into very fine crumbs to mix evenly with the frosting. If you find that your cake is too dry and crumbles don’t hold together after adding frosting, you can add a splash of milk until reaching the right consistency. It's important to mix thoroughly; you want to achieve a dough-like consistency that allows for easy rolling into balls.
When shaping your pops, dampen your hands slightly to prevent the mixture from sticking. This technique also helps in creating smoother balls. Ensure you roll the cake mixture tightly but gently to maintain the pop's structure during the coating process. After inserting the lollipop sticks, use a small amount of the melted chocolate to secure it in place—this will help prevent the stick from pulling out later.
Decorating Your Cake Pops
Melt the white chocolate wafers in short bursts in the microwave—this helps to avoid overheating and can lead to a nice glossy finish. Stirring actively between each increment allows for even melting. If your chocolate becomes too thick or doesn’t smooth out, adding a teaspoon of vegetable oil can help restore its liquidity. It allows the chocolate to flow easily around the pops when dipping.
Once coated, decorating with sprinkles is not just for looks; the added texture enhances the overall enjoyment. If you're aiming for a more polished finish, consider dusting with edible luster or using candy melts in different colors for a striking effect. If you're feeling adventurous, you might experiment with different toppings like crushed nuts or coconut flakes to suit various tastes.
Ingredients
Before we get into the instructions, gather all the ingredients below to make your cake pops truly delightful!
Cake Base
- 1 ½ cups all-purpose flour
- 1 cup granulated sugar
- ½ cup unsalted butter, softened
- 2 large eggs
- 1 tablespoon vanilla bean paste
- ½ cup milk
- 1 ½ teaspoons baking powder
- 1/4 teaspoon salt
Frosting
- 1 cup buttercream frosting
- 1 teaspoon vanilla extract
Coating
- 12 ounces white chocolate melting wafers
- Sprinkles for decoration
Now that you have all your ingredients ready, let’s dive into the preparation!
Instructions
Follow these steps carefully to make your cake pops come out perfectly every time!
Bake the Cake
Preheat your oven to 350°F (175°C). In a mixing bowl, cream the butter and sugar together until light and fluffy. Beat in the eggs one at a time, then mix in the vanilla bean paste. In another bowl, whisk together the flour, baking powder, and salt. Gradually add the dry ingredients to the butter mixture, alternating with milk, until well combined. Pour into a greased cake pan and bake for 25 minutes or until a toothpick comes out clean. Let it cool completely.
Make the Cake Pops
Crumble the cooled cake into a large mixing bowl. Add the buttercream frosting and mix until thoroughly combined. Roll the mixture into small balls (about 1 inch in diameter) and place them on a baking sheet lined with parchment paper. Insert lollipop sticks into each ball and refrigerate for 1 hour to firm up.
Coat the Cake Pops
Melt the white chocolate wafers in a microwave-safe bowl, stirring every 30 seconds until smooth. Dip each cake pop into the melted chocolate, allowing any excess to drip off. Decorate with sprinkles before the coating hardens. Place the finished pops upright in a foam block or a cake pop stand to set completely.
Once your cake pops are set, they are ready to be enjoyed! Store any leftovers in an airtight container for a delightful treat later.
Pro Tips
- For an extra flavor boost, try adding a splash of almond extract to the cake batter. You can also use colored candy melts for a fun twist in appearance!
Storage and Make-Ahead Tips
If you want to prep your cake pops in advance, assemble the cake balls and refrigerate them for up to 2 days before coating them. This keeps their shape intact and makes the final coating process quicker. Just make sure they are wrapped well to prevent drying out or absorbing any odors from the fridge.
Coated cake pops can be stored at room temperature in an airtight container for about a week. However, if you live in a warm climate, refrigeration might be necessary to keep the chocolate from melting. To freeze, store uncoated cake balls in a single layer on a baking sheet until firm, then transfer to an airtight container for up to 3 months.
Flavor Variations
A signature element of these cake pops is the rich vanilla bean flavor, but there's room for experimentation! Consider adding different flavor extracts like almond or orange for a unique twist. You might also incorporate citrus zest or spices like cinnamon to change up the flavor profile while maintaining the moist cake texture.
For a chocolate lover's version, consider substituting half of the all-purpose flour with cocoa powder in the cake mix. You could also use chocolate frosting instead of buttercream to intensify that chocolate flavor. Top with chocolate sprinkles or drizzle some melted semi-sweet chocolate over the pops for added decadence.
Questions About Recipes
→ Can I use a cake mix instead of making cake from scratch?
Absolutely! Using a box cake mix can save time and still yield delicious cake pops.
→ How do I store leftover cake pops?
Store them in an airtight container in the fridge for up to a week.
→ What different coatings can I use?
You can use dark chocolate, milk chocolate, or even a colorful candy coating.
→ Can I make these ahead of time?
Yes, cake pops can be made a few days in advance and stored properly until you’re ready to serve them.
Delightful Vanilla Bean Cake Pops
Created by: The Zestcrafters Team
Recipe Type: Baking & Desserts
Skill Level: Intermediate
Final Quantity: 20 pops
What You'll Need
Cake Base
- 1 ½ cups all-purpose flour
- 1 cup granulated sugar
- ½ cup unsalted butter, softened
- 2 large eggs
- 1 tablespoon vanilla bean paste
- ½ cup milk
- 1 ½ teaspoons baking powder
- 1/4 teaspoon salt
Frosting
- 1 cup buttercream frosting
- 1 teaspoon vanilla extract
Coating
- 12 ounces white chocolate melting wafers
- Sprinkles for decoration
How-To Steps
Preheat your oven to 350°F (175°C). In a mixing bowl, cream the butter and sugar together until light and fluffy. Beat in the eggs one at a time, then mix in the vanilla bean paste. In another bowl, whisk together the flour, baking powder, and salt. Gradually add the dry ingredients to the butter mixture, alternating with milk, until well combined. Pour into a greased cake pan and bake for 25 minutes or until a toothpick comes out clean. Let it cool completely.
Crumble the cooled cake into a large mixing bowl. Add the buttercream frosting and mix until thoroughly combined. Roll the mixture into small balls (about 1 inch in diameter) and place them on a baking sheet lined with parchment paper. Insert lollipop sticks into each ball and refrigerate for 1 hour to firm up.
Melt the white chocolate wafers in a microwave-safe bowl, stirring every 30 seconds until smooth. Dip each cake pop into the melted chocolate, allowing any excess to drip off. Decorate with sprinkles before the coating hardens. Place the finished pops upright in a foam block or a cake pop stand to set completely.
Extra Tips
- For an extra flavor boost, try adding a splash of almond extract to the cake batter. You can also use colored candy melts for a fun twist in appearance!
Nutritional Breakdown (Per Serving)
- Calories: 150 kcal
- Total Fat: 9g
- Saturated Fat: 5g
- Cholesterol: 30mg
- Sodium: 45mg
- Total Carbohydrates: 17g
- Dietary Fiber: 1g
- Sugars: 12g
- Protein: 2g